Dedicated IP addresses are a huge benefit to any website there are numerous reasons why sites on dedicated IP addresses are just flat out better. We go over them in detail here: https://tserverhq.com/clients/knowledgebase/137/Why-is-a-dedicated-IP-so-much-better.html we have also summarized the benefits below.
- You will have your own private space
- You are more secure
- Better rankings with search engines
- Faster loading website
- Less chance of issues
- Protects your reputation
- Avoid the issues with SNI
- Far less mail is marked as spam
- Your own name even when doing a look-up
How to put your site on a dedicated IP.
That Being said. Lets go over how to actually get this dedicated IP address. It isn't very hard actually.
- Log into the client area: https://tserverhq.com/clients/clientarea.php
- Go to the services section in the menu and go to "My services"
- Now select the webhosting plan that you want to have the dedicated IP address.
- Select Upgrade / Downgrade
- Tick the box for the dedicated IP address and then continue. This will generate an invoice for any amount due for the IP address. Once it is paid the system should change over your website to the dedicated IP address.
- It might seem like there is some downtime after the change since your website will be pointed to a different IP address. It isn't actually down though that is just the old cached location you are seeing all new visitors to your site will see the site just fine. You can see the new location right away if you don't want to wait by flushing your computers DNS. Please note if you aren't using our DNS servers and instead using something like cloudflare then you'll need to manually change your DNS entries to the new dedicated IP address.
- All done! You'll start experiencing the benefits of having your own dedicated IP right away.
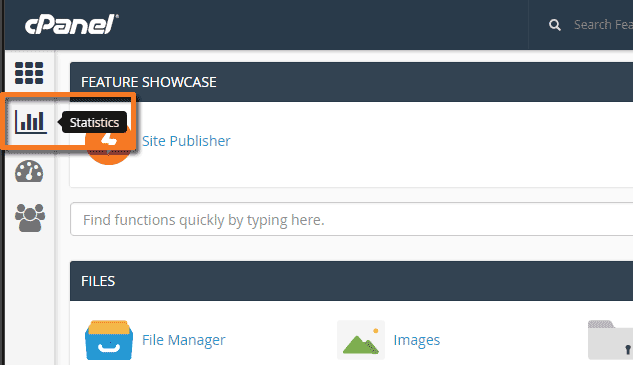
- Log into your control panel. You can get there by typing youdomain.com/cpanel into your browser.
- On the left-hand side click on the bar graph icon it looks like the below image

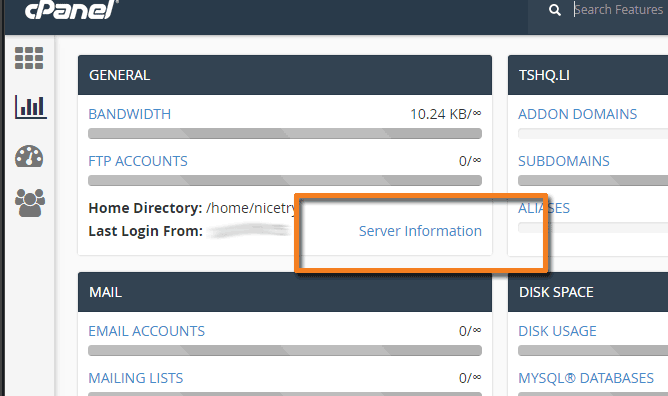
- You'll see who logged in last plus a bunch of other good details about your account. What we are looking for though is the "Server Information"

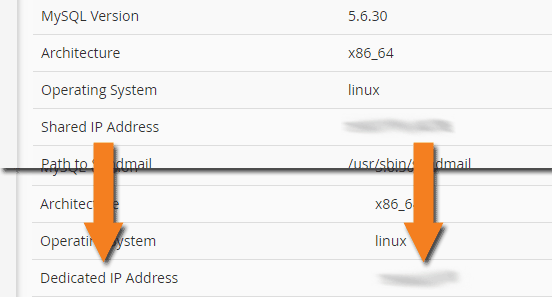
- On the "Server Information page you'll see a bunch of data. The only section are are interested in is the section that says what IP address you are on. If you're on a shared IP it will say "Shared IP Address" if you have a dedicated IP it will show "Dedicated IP Address". If you follow the above steps you'll see the Shared IP Address change to your own Dedicated IP Address like below.

